Hello, fellow crafters! Get ready to add a touch of whimsical charm to your crochet collection with our adorable Amigurumi Goat Free Crochet Pattern!
Imagine a sweet, cuddly little goat, with its floppy ears, playful stance, and the softest, squishiest texture imaginable. This little guy is sure to bring a smile to anyone’s face. Whether you’re a seasoned amigurumi artist or just dipping your toes into the wonderful world of crochet, this pattern is designed with you in mind. It’s perfect for beginners looking for a rewarding project, an absolutely delightful gift for animal lovers of all ages, or a charming addition to your home decor.
Throughout this easy-to-follow guide, you’ll learn essential amigurumi techniques, from creating those perfect little stitches to shaping and assembling your very own farm friend. So grab your hook and some cozy yarn, and let’s create something truly special together!

Craft Your Own Adorable Amigurumi Goat: A Free Crochet Pattern Adventure!
Get ready to embark on a delightful crochet journey as we dive into the charming world of amigurumi with this fantastic free pattern for a cuddly goat! Amigurumi, the Japanese art of crocheting small stuffed creatures, is incredibly rewarding, and this goat is the perfect project for both seasoned crafters looking for a quick and cute make, and beginners eager to dip their toes into the world of stuffed toy creation. Its simple shapes and straightforward construction make it accessible and incredibly fun to assemble. So, grab your yarn and hook, and let’s bring this sweet little goat to life!
Yarn & Hook Recommendations: Choosing Your Goats’ Perfect Coat
The beauty of amigurumi lies in its versatility, and the yarn you choose can dramatically impact the final look and feel of your goat. For that classic, soft amigurumi texture, we recommend a worsted-weight yarn. This weight strikes a lovely balance – it’s substantial enough to create a good density for stuffing, preventing any gaps, but not so thick that it becomes cumbersome to work with. Cotton or a cotton blend is an excellent choice for amigurumi. It’s durable, holds its shape well, and gives a lovely matte finish that’s characteristic of many amigurumi creations. Acrylic yarns are also a fantastic and budget-friendly option, offering a wide range of colors and being very forgiving for beginners.
For your goat’s main body, a creamy white, a soft gray, or even a warm beige would be absolutely charming. Don’t forget about those adorable floppy ears and maybe a little tail! You might want to grab a contrasting color for these details, like a soft pink, a dusty brown, or even a cheerful yellow.
As for your hook, the pattern generally calls for a crochet hook that is one size smaller than what is recommended on the yarn label. This is a crucial tip for amigurumi! Using a smaller hook creates tighter stitches, which is essential for preventing stuffing from peeking through your crochet fabric. For worsted weight yarn, you’ll likely find yourself reaching for a 2.5mm to 3.5mm (US size B/1 to E/4) hook. Always do a small test swatch with your chosen yarn and hook to ensure your stitches are nice and firm.
Stitch Techniques: Building Your Goat, Stitch by Stitch
This amigurumi goat pattern primarily relies on a few fundamental crochet techniques that are the building blocks of most amigurumi projects. Mastering these will open up a world of stuffed toy possibilities!
You’ll also be familiarizing yourself with concepts like working in continuous rounds (meaning you don’t join with a slip stitch and chain at the end of each round; instead, you just keep crocheting, using a stitch marker to denote the start of each round) and stitch counts. These are crucial for achieving the correct shape and size for your amigurumi.
Tips for Beginners: Your First Amigurumi Friend!
Don’t let the idea of amigurumi intimidate you! This goat pattern is a fantastic starting point. Here are some tips to make your first amigurumi experience smooth and enjoyable:
Customizing Your Goat: Making It Uniquely Yours!
One of the most exciting aspects of amigurumi is the endless potential for personalization. This free pattern provides a wonderful base, and you can easily make your goat one-of-a-kind!
Color Combinations:
Size Variations:
Adding Details:
Care Instructions: Keeping Your Goat Cuddly
To ensure your handmade goat stays looking its best for years to come, follow these simple care instructions:
Project Ideas: Beyond Just a Cute Goat!
While this amigurumi goat is perfect as a standalone toy, its charm can be incorporated into a multitude of creative projects:
So, there you have it! This free amigurumi goat pattern is your invitation to a world of crochet fun and cuddly creations. Whether you’re a beginner or an experienced crocheter, this project is sure to bring a smile to your face and a delightful new friend into your life. Happy crocheting!
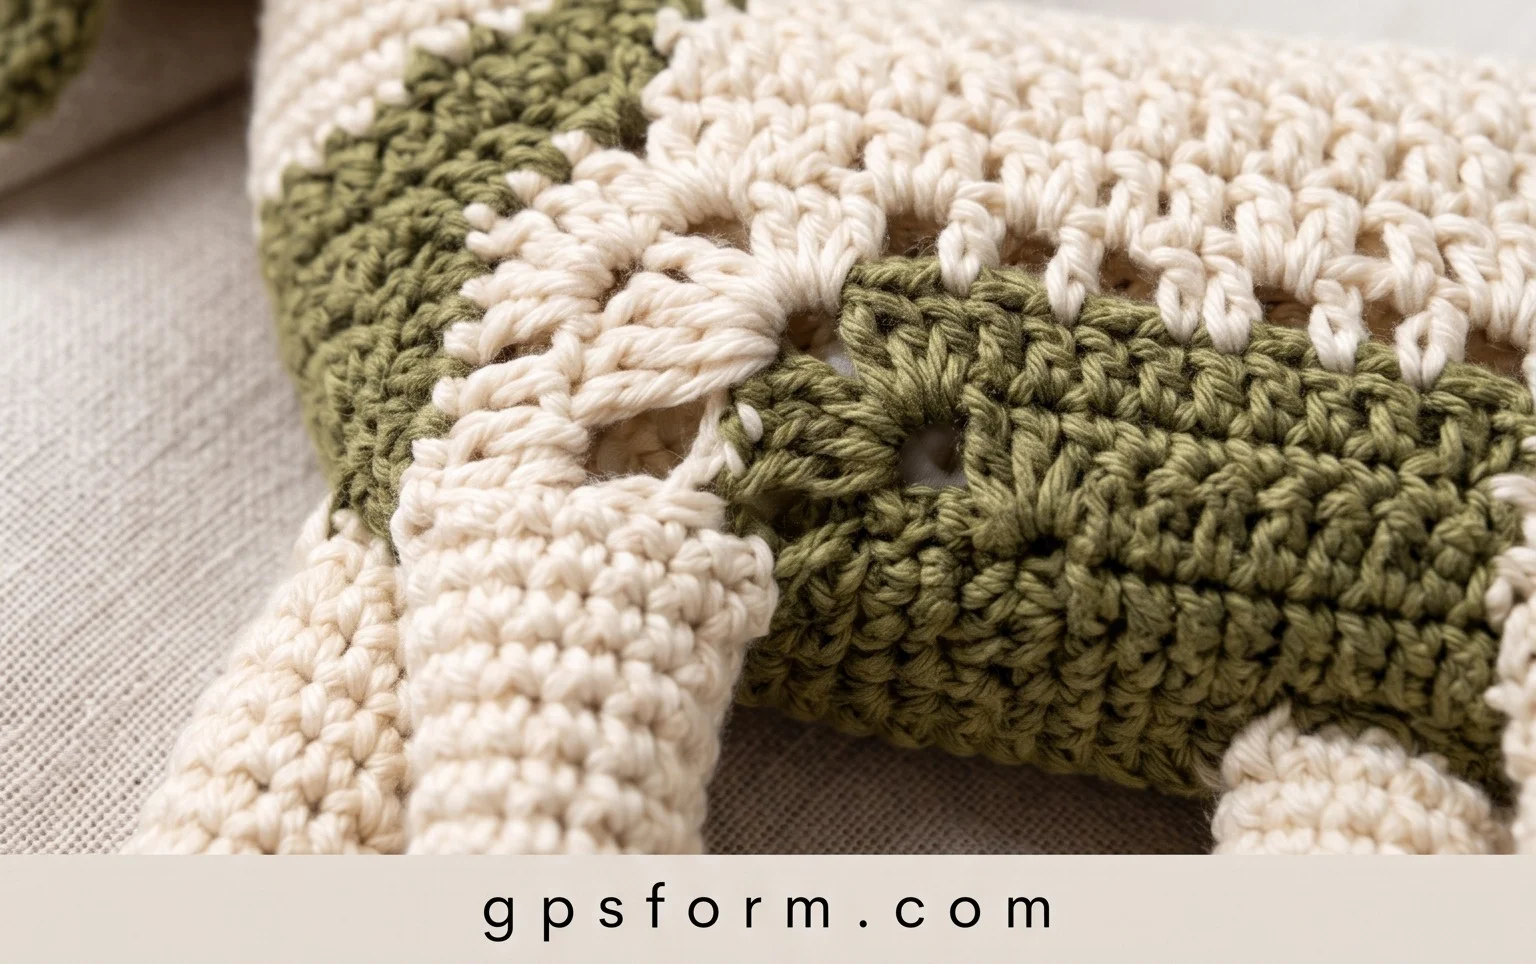
We hope you’ve had a delightful time crocheting this adorable amigurumi goat! This pattern is perfect for beginners and experienced crocheters alike, offering a charming result with every stitch. Don’t hesitate to give it a try – you might just find your new favorite crochet companion!
Once your little goat is complete, we’d absolutely love to see your creations! Share your finished projects on social media using #AmigurumiGoat or tag us so we can admire your handiwork. Feel free to experiment with different yarn colors or add unique embellishments to make your goat truly one-of-a-kind. And when you’re ready for your next crochet adventure, be sure to explore our other free patterns – there’s a whole world of amigurumi wonders waiting for you!